Rich Content Formatting
Custom Fonts Macro
Custom Fonts Macro
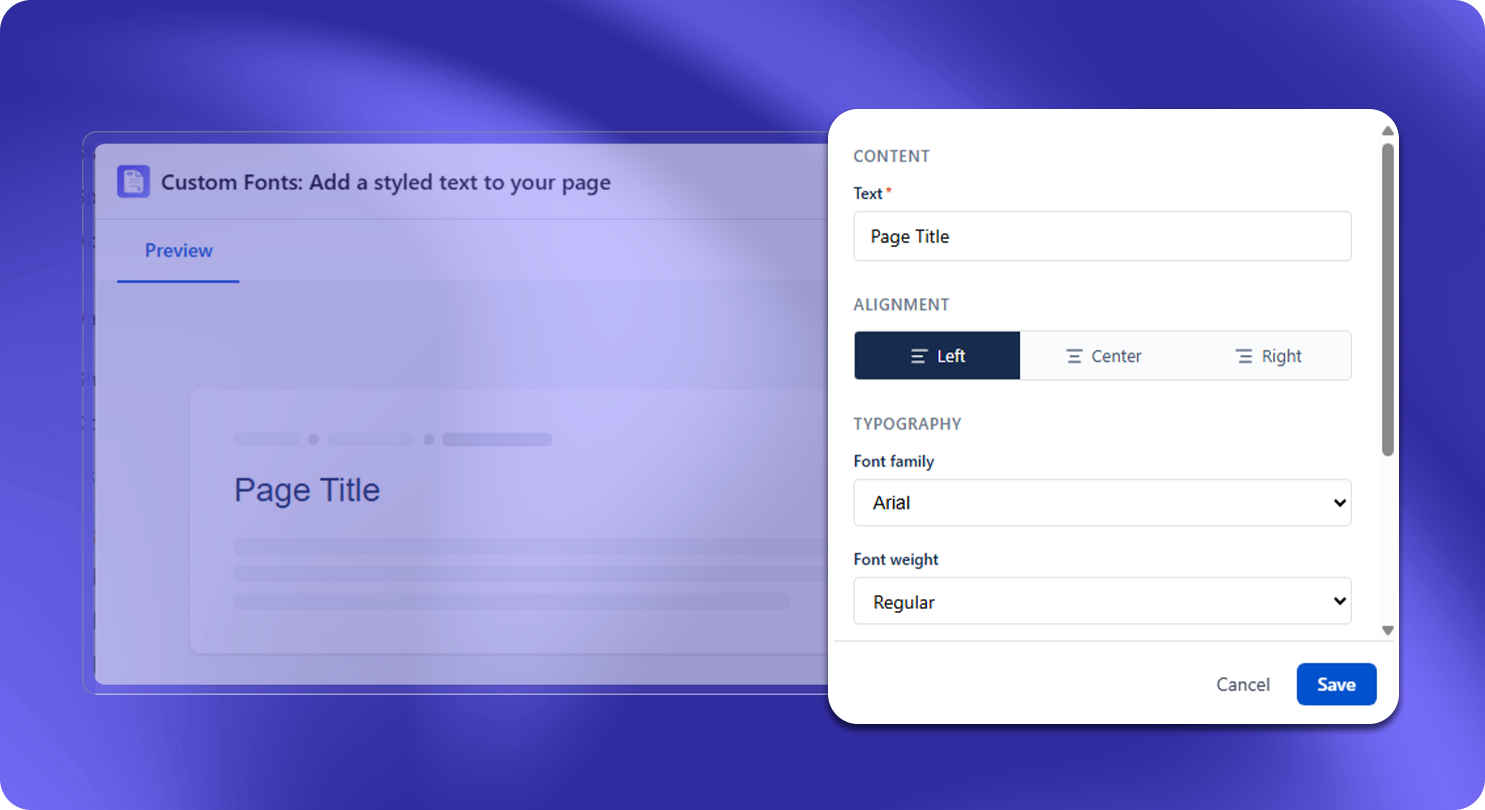
What It Does
The Custom Fonts macro lets you add a styled text block to any Confluence page. You type the text directly into the macro and control its font family, weight, size, color, alignment, and line height - all from the config panel. Use it to create visually distinct headings, section titles, or callout text that goes beyond Confluence's standard heading styles.
How to Set It Up
- Insert the Custom Fonts macro on your page
- In the Text field, type the text you want to display (required)
- Set the Alignment - Left, Center, or Right
- Under Typography, choose the Font Family, Font Weight, and drag the Font Size slider to the size you need
- Pick a Text Color from the preset swatches or use the custom color picker
- Optionally enable Set line height manually to control vertical spacing
- Publish the page
Configuration Options
| Setting | Options | Notes |
|---|---|---|
| Text | Free text input | Required - this is the text that will be displayed |
| Alignment | Left, Center, Right | Controls horizontal alignment of the text block |
| Font Family | Dropdown (e.g. Arial, and other available fonts) | Selects the typeface for the text |
| Font Weight | Regular, Bold, and other available weights | Controls how thick or thin the text strokes appear |
| Font Size | Slider (px) | Drag to set the exact size; displays the current value in px |
| Text Color | Preset color swatches + custom color picker | Sets the text color |
| Set Line Height Manually | Toggle on / off | When on, lets you enter a specific line height value |
Common Use Cases
- Custom page title: Add a large, styled heading at the top of a space home page or landing page
- Section labels: Use a distinct font and color to mark major sections within a long page
- Announcement text: Display a bold, center-aligned message at the top of an announcement page
- Visual emphasis: Highlight a key statistic, quote, or call-to-action with a larger font size and a brand color