User Guide
Capacity Planner
The Capacity Planner is a timesheet-style view that shows how team workload is distributed across users, groups, and teams over time.
Opening the Capacity Planner
Capacity Planner & Insight → Capacity Planner → click Create New Planner or open a saved plan from the sidebar
Creating a New Plan
- Click Create New Planner
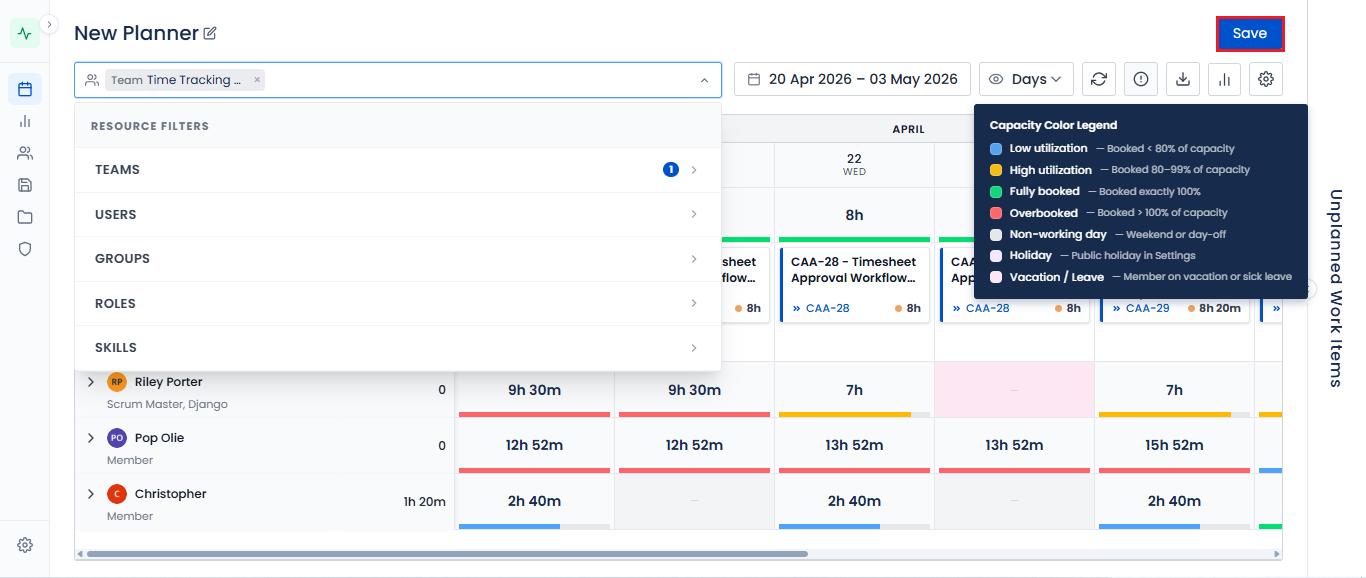
- Select who to include:
- Users - individual Jira users
- Groups - Jira groups
- Teams - teams defined in the Teams Management module
- Set Date Range and View Mode (Days, Weeks, Months)
- Click Apply - the planner loads the capacity view
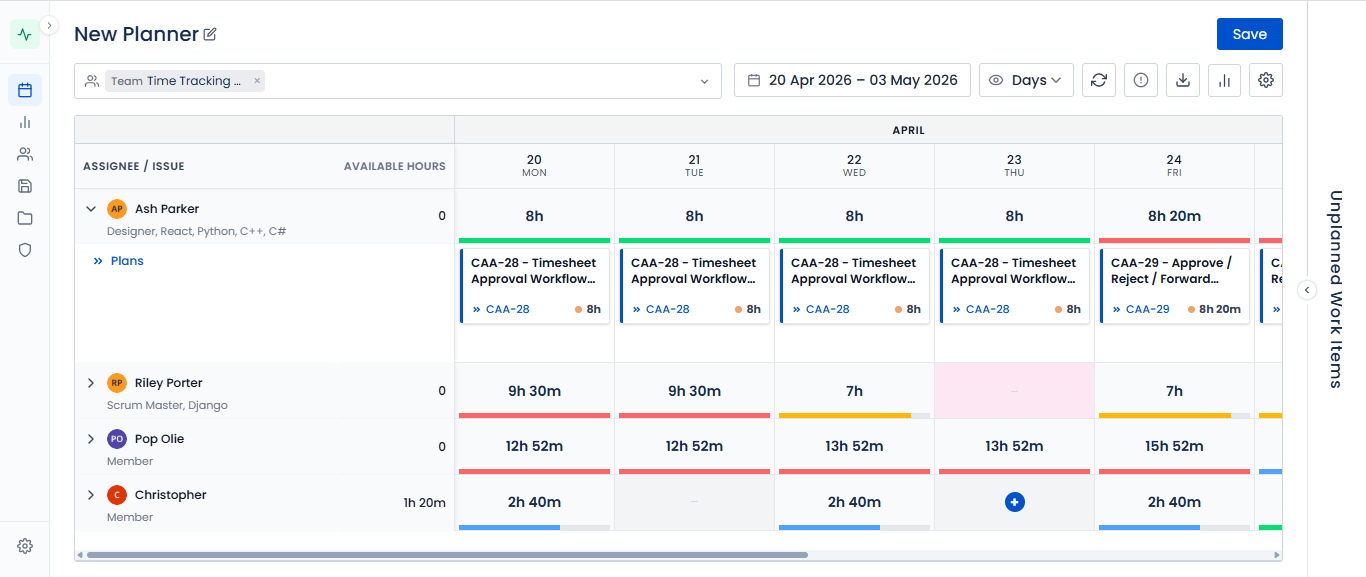
Planner Layout
| Column | Description |
|---|---|
| User / Group / Team | Left column - the people or groups in the plan |
| Issue rows | Each row under a user shows an assigned Jira issue |
| Estimate columns | Hours per date period (original estimate and remaining) |
| Date columns | One column per day/week/month based on view mode |
| Total row | Aggregates hours across all rows |
Grouping Options
| Grouping | When to Use |
|---|---|
| User → Issue | Individual workload drill-down |
| Team → User → Issue | Team-level rollup with individual breakdown |
| Issue Type → User | Understand how issue types distribute across people |
Reading the Planner
- Green cells - within normal capacity range
- Red / amber cells - over-allocated for that period
- Hover on any cell to see issue details and hour breakdown
Saving a Plan
- Configure the planner (users, date range, grouping)
- Click Save
- Enter a plan name (e.g., "Sprint 42 Capacity")
- Click Confirm
- The plan appears in Saved Plans in the sidebar
Tips
- Run a capacity check before every sprint planning session
- Use Team grouping to give leadership a rolled-up view
- Save plans per sprint to build a historical capacity record